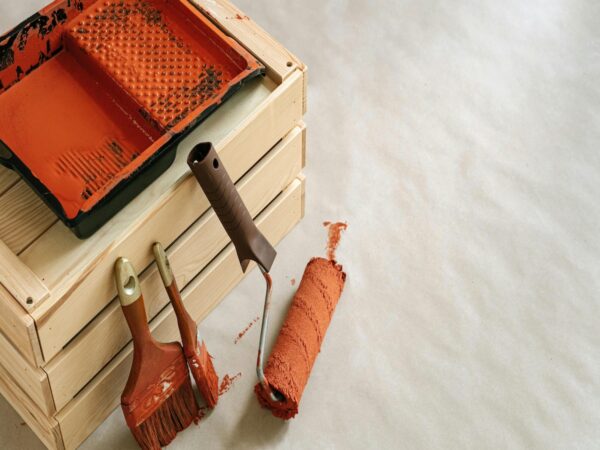
Paint bubbling, or blistering, is a frustrating issue that can occur on walls, ceilings, and furniture. It not only disrupts the look of a space but may also point to deeper problems such as moisture, poor surface prep, or the wrong environmental conditions. Understanding the causes of bubbling and applying the right solutions can prevent further damage and ensure a smooth, long-lasting finish.
Why is Your Paint Bubbling? – A Quick Overview
Paint bubbling happens when moisture or air gets trapped beneath the paint layer, causing it to lift off the surface. The primary causes include moisture intrusion, improper surface preparation, environmental factors, and low-quality products. To fix bubbling, scrape off the damaged paint, address the root cause, and reapply high-quality primer and paint, ensuring proper surface preparation and environmental conditions.
Common Causes of Paint Bubbling
1. Moisture Intrusion
Moisture is the leading cause of paint bubbling. Water trapped beneath the paint layer, whether from leaks, humidity, or applying paint over a wet surface, can cause bubbles to form as it evaporates.
Prevention Tips:
- Fix any plumbing or roof leaks before painting.
- Use moisture-resistant primers and paints, especially in high-humidity areas like bathrooms or kitchens.
- Ensure surfaces are dry before applying any paint.
2. Poor Surface Preparation
If the surface is not properly cleaned, primed, or prepped, the paint may not adhere properly. Dirt, grease, or dust can form a barrier between the paint and the surface, leading to poor adhesion and bubbles.
Preparation Essentials:
- Clean surfaces with degreasers or mild soap and water.
- Sand rough spots and remove loose paint.
- Apply a suitable primer for the surface material (wood, drywall, metal, etc.).
3. Incompatible Paint or Tools
Low-quality paint or incorrect application tools can also lead to bubbling. For example, using oil-based paint over latex paint without proper priming can result in adhesion issues and bubbling.
Solution:
- Choose high-quality, compatible paints for your project.
- Use brushes or rollers designed for the type of paint you’re using to ensure even application.
4. Environmental Factors
Excessive heat, humidity, or painting in direct sunlight can cause paint to dry unevenly, trapping moisture or air underneath and creating bubbles.
Avoid Environmental Triggers:
- Paint when temperatures are between 50°F and 85°F.
- Avoid painting on rainy days or in high humidity.
- Never paint in direct sunlight or during extremely hot or cold conditions.
5. Painting Over Contaminants
Any residues like grease, oil, or mildew can prevent proper adhesion of the paint, which will lead to bubbling over time.
How to Fix Bubbling Paint
1. Identify and Eliminate the Root Cause
First, identify what caused the bubbling. For instance, if moisture is the issue, address any leaks or excess humidity in the space. Use a moisture meter to confirm that the surface is dry before repainting.
2. Scrape and Sand the Affected Area
Carefully scrape off the bubbled paint with a scraper. Once the area is clean, sand it smooth to ensure a proper surface for repainting.
3. Clean Thoroughly
Use a damp cloth or sponge to wipe away dust, dirt, or any other contaminants from the surface. Allow the surface to dry completely before applying primer or paint.
4. Prime and Repaint
Once the surface is clean and dry, apply a high-quality primer suitable for the material. After the primer has dried, apply paint in thin, even coats. Follow the manufacturer’s drying instructions between coats for best results.
Tips for Preventing Paint Bubbling
1. Choose the Right Products
Invest in quality paints and primers that are specifically designed for the environment in which you’re painting. For example, moisture-resistant primers are ideal for bathrooms and kitchens.
2. Prepare Surfaces Meticulously
Properly clean, sand, and prime surfaces before painting. The better the preparation, the better the paint will adhere.
3. Apply Paint Properly
Use the correct tools (brushes, rollers, sprayers) for the type of paint and surface you’re working with. Avoid overloading the brush or roller with too much paint, as this can trap air and cause bubbling.
4. Control the Environment
Ensure that the temperature and humidity levels are ideal for painting. Always follow the manufacturer’s recommended temperature range for optimal drying conditions.
5. Seal Gaps and Cracks
Before painting, seal any gaps, cracks, or holes in the walls, furniture, or ceilings. Moisture can seep through cracks and cause bubbling, so addressing these issues beforehand is crucial.
FAQs
How do you keep paint from bubbling when painting?
To prevent bubbling, ensure the surface is clean, dry, and properly primed. Avoid painting in high humidity or extreme temperatures, and choose the right products for the surface and environment. Proper surface preparation is key to preventing bubbling.
Why is my paint bubbling when using a roller?
Bubbling when using a roller can occur if the roller is overloaded with paint, causing excess moisture to get trapped between the surface and the paint layer. It can also happen if the paint is applied too thickly or too quickly. Always use even, light strokes and work in smaller sections.
Should you pop paint bubbles?
It’s not recommended to pop paint bubbles as this can damage the underlying surface and make repairs more difficult. Instead, allow the bubbles to dry completely, then scrape off the damaged paint, sand the area, and repaint.
Are brick pavers better than concrete?
Brick pavers and concrete each have their advantages. Pavers are durable, offer a more classic aesthetic, and are easier to replace if damaged. Concrete, however, is more affordable and offers greater versatility in design.
Which is cheaper, concrete or pavers?
Concrete is typically cheaper to install than pavers. However, pavers may offer a longer lifespan and require less maintenance, making them more cost-effective in the long term.
Conclusion: Trust J.L.R. Handyman Services for Professional Painting Solutions
Paint bubbling can be an annoying problem, but understanding the causes and applying the right solutions will ensure your painted surfaces stay smooth and beautiful. If you’re dealing with bubbling paint or want to prevent future issues, it’s best to rely on professionals.
At J.L.R. Handyman Services, we specialize in providing high-quality painting services tailored to your needs. Whether it’s prepping surfaces, selecting the right products, or applying flawless coats of paint, our expert team ensures top-notch results. Visit J.L.R. Handyman Services for all your painting and home improvement needs. Let us help you maintain a beautiful, bubble-free home!

